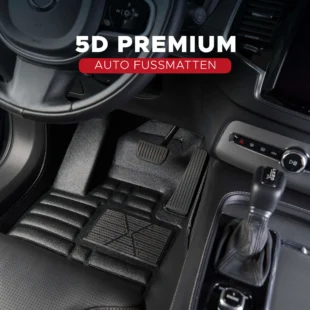
5D Premium Car Floor Mats TPE Installation Video
Installation Instructions for
5D Floor Mats
The 5D floor mat set consists of three parts. The two smaller parts are intended for the front area of the car. Place the floor mats on the left and right so that the wall behind the pedal and the brake is covered. Gently press the mats with your hand to ensure they are seated correctly.
Then take the fastening clips and attach them, as shown in the video, first on one side of the floor mat and then on the opposite side. Attach them to the designated locations that the car provides at the ends of the carpet.
In the rear interior of the car, place the floor mat so that the center tunnel is also completely covered. After laying out the mat, gently press it with your hands so that it fits well.
This may require lifting the seats and sliding the curved side of the mat under the seats. Then attach the floor mat with the clips in the same way as before.
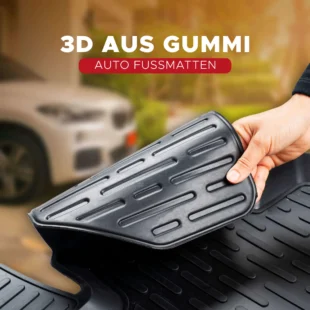
3D Floor Mats Installation Video
Installation Instructions for
3D Floor Mats
The 3D floor mats also consist of three parts. It is quite easy to see which area the individual parts are assigned to. For example, the rubber mat with recesses for the pedal and brake is placed in front of the driver’s seat.
The rubber mat designed for the center tunnel, on the other hand, is placed in front of the seat of the right passenger. Since the floor mats fit perfectly and have high edges, they can be easily laid out in the car.
After the large rubber mat in the rear covers the center tunnel, you must place the rubber floor mat for the left passenger over the exposed end. This ensures that this area is also securely fastened.